Learning How to Cook Chicken Breast on a Pit Boss Pellet Grill is a game-changer for anyone who loves smoky, flavorful meals. This method combines the ease of pellet grilling with the delicious, juicy results that come from cooking over wood. Whether you’re preparing for a family dinner or a weekend barbecue, following this guide will ensure your chicken breast is perfectly cooked and bursting with flavor.
Why Choose a Pellet Grill for Cooking Chicken Breast?
Pellet grills offer a unique advantage when you cook chicken breast on a pellet grill. They provide consistent temperature control and the ability to infuse your chicken with smoky flavors using different wood pellets. Whether you’re a novice or an experienced griller, a pellet grill makes it easier to achieve juicy, flavorful chicken breasts every time.
Consistent Temperature Control
One of the key features of a Pit Boss Pellet Grill is its ability to maintain a steady temperature. This consistency is crucial for cooking chicken breast evenly. The digital controls on a Pit Boss allow you to set the exact temperature and trust that it will remain steady throughout the cooking process.
Wood-Fired Flavor
The wood pellets used in a Pit Boss are made from compressed hardwoods, such as oak, hickory, or apple. As the pellets burn, they infuse the chicken with a rich, smoky flavor that is difficult to replicate with other types of grills. You can enhance or alter this flavor depending on the type of wood pellet you choose, allowing for a customized cooking experience.
Ease of Use
Despite enabling advanced cooking methods, Pit Boss Pellet Grills are incredibly user-friendly. With automated features like digital temperature control and pellet feed systems, even beginners can achieve professional-level results. You can focus on seasoning and perfecting your chicken breast while the grill does most of the heavy lifting.
Preparing Your Chicken Breast for the Pellet Grill
Proper preparation is essential for achieving a delicious, juicy chicken breast. Here’s how to ensure your chicken is ready for the grill.

Selecting the Right Chicken Breast
Start by choosing high-quality chicken breasts. Opt for organic or free-range options when possible, as they typically have better flavor and texture. Choose breasts that are uniform in size to ensure even cooking. If the chicken breasts are particularly thick, consider pounding them to an even thickness to avoid overcooking the edges while waiting for the center to cook through.
Trimming and Cleaning
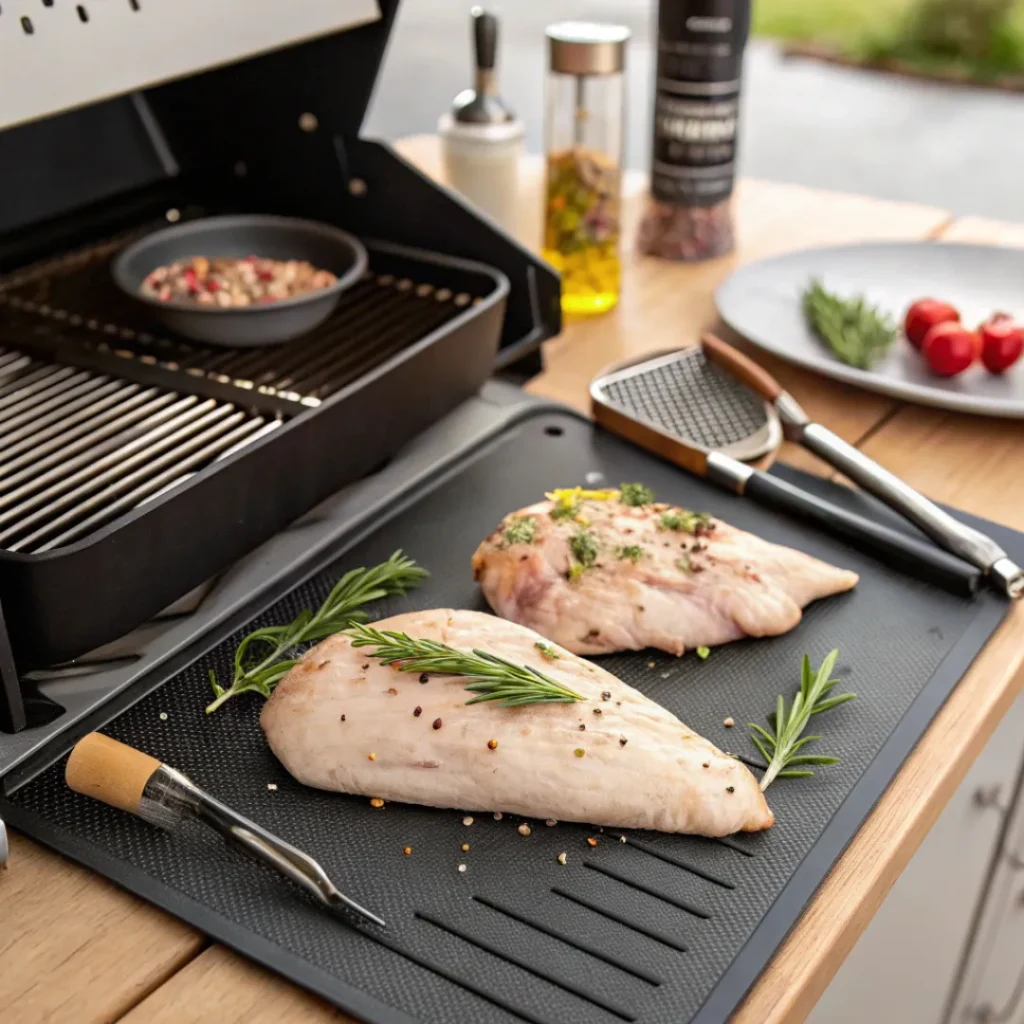
Before seasoning, trim any excess fat or tendons from the chicken breasts. This improves the final presentation and helps the chicken cook more evenly. Rinse the chicken breasts under cold water and pat them dry with paper towels. Removing excess moisture allows the seasoning to adhere better and ensures a good sear on the grill.
Seasoning Options
Seasoning is where you can get creative. A simple rub of salt and pepper can go a long way. However, you can also experiment with various spices and herbs to create a more complex flavor profile. A classic rub might include garlic powder, onion powder, paprika, and a touch of cayenne for heat. If you prefer a marinade, try combining olive oil, lemon juice, minced garlic, fresh herbs like rosemary or thyme, and a touch of honey or Dijon mustard. Marinate the chicken in the refrigerator for at least 30 minutes, or up to 24 hours for a deeper flavor.
Preheating the Pit Boss Pellet Grill
Preheating your Pit Boss Pellet Grill is a crucial step that ensures even cooking and a beautiful sear.
Ideal Temperature Settings
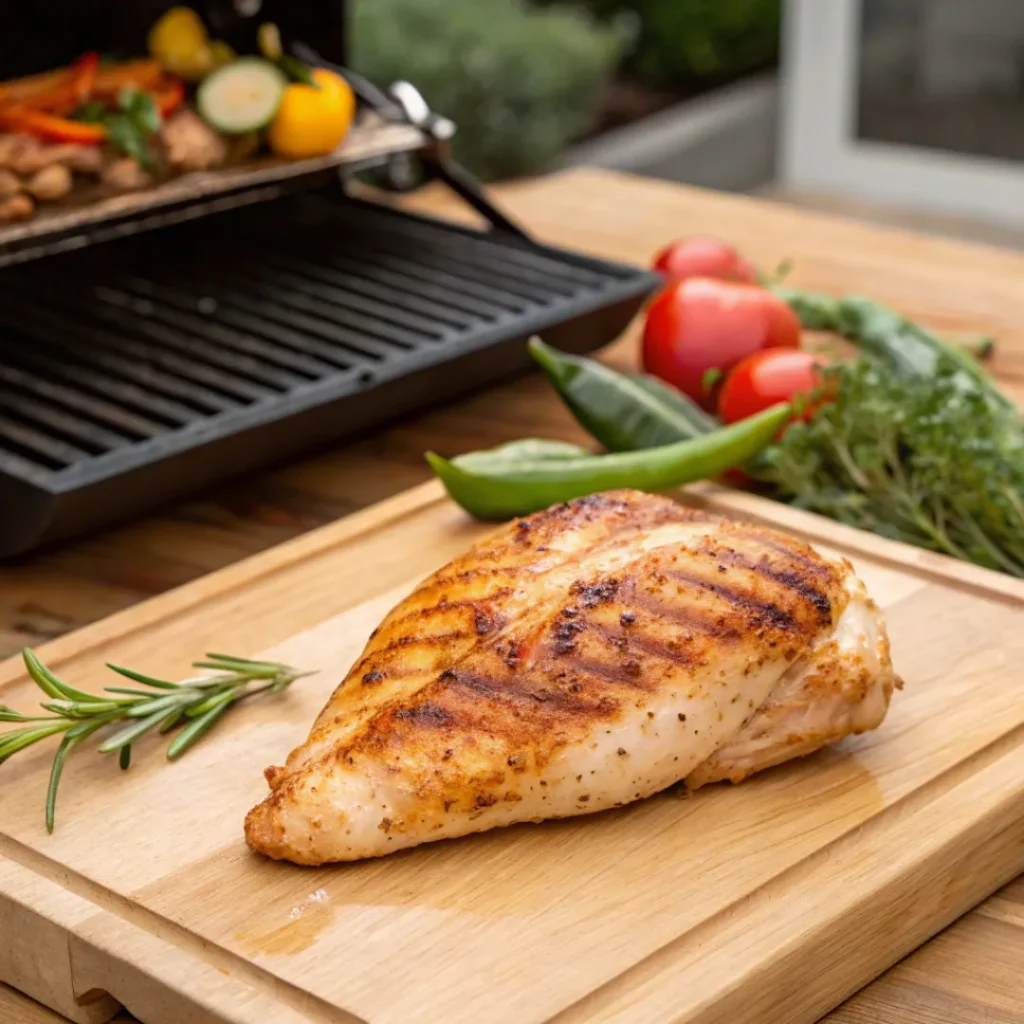
For chicken breast, set your Pit Boss Pellet Grill to 350°F. This temperature strikes a balance between cooking the chicken through without drying it out. At 350°F, the chicken breast will cook evenly, allowing the exterior to develop a golden-brown crust while the interior stays moist.
Importance of Preheating
Preheating creates an environment where the chicken can start cooking immediately upon contact with the grates. This quick sear locks in the juices and creates a flavorful crust on the outside of the chicken. Without preheating, the chicken might stick to the grates and cook unevenly, leading to a less desirable texture and flavor.
Duration of Preheating
Allow the grill to preheat for at least 10-15 minutes, or until it reaches the desired temperature. During this time, you can prepare your chicken or gather the necessary tools, such as tongs, a meat thermometer, and a basting brush.
Setting Up the Grill for Smoking Chicken Breast
To infuse your chicken breast with a deep, smoky flavor, adjust your grill settings for smoking. When you cook chicken breast on a pellet grill at a lower temperature of 225°F, the chicken slowly absorbs the smoke, resulting in a richer taste that enhances the natural flavors of the meat.
How to Set the Grill for Smoking
Reduce the temperature on your Pit Boss Pellet Grill to 225°F to smoke your chicken breast. This lower temperature allows the chicken to cook slowly, absorbing more of the wood smoke. Open the grill’s smoke vent to encourage a steady flow of smoke over the chicken. Place the chicken breasts on the grill grates away from direct heat, allowing them to smoke indirectly.
Choosing the Right Pellets
The type of wood pellet you choose significantly impacts the flavor of your chicken. Hickory pellets provide a strong, smoky flavor that pairs well with chicken. Applewood pellets offer a sweeter, milder smoke that complements poultry without overpowering it. For a balanced flavor, consider mixing different types of pellets. Pit Boss also offers competition blends, which combine various hardwoods for a nuanced, complex flavor profile.
Cooking Time and Temperature for Chicken Breast on a Pellet Grill
Timing and temperature play crucial roles in cooking chicken breast on a pellet grill.
Optimal Cooking Time at 350°F
When grilling at 350°F, chicken breasts typically take about 25-30 minutes to cook through, depending on their thickness. Thinner breasts will cook more quickly, so keep an eye on them to avoid overcooking. It’s best to start checking the internal temperature around the 20-minute mark to ensure you don’t overcook the meat.
Cooking Time for Smoking at 225°F
If you’re smoking the chicken at 225°F, the cooking time will be longer, typically ranging from 60-90 minutes. This extended cooking time allows the chicken to absorb more smoke, resulting in a richer flavor. However, because the temperature is lower, monitor the internal temperature closely to avoid undercooking.
Internal Temperature Guidelines
The USDA recommends cooking chicken to an internal temperature of 165°F for safe consumption. To check the temperature, insert a meat thermometer into the thickest part of the breast. Avoid touching the bone with the thermometer, as this can give a false reading. Once the chicken reaches 165°F, remove it from the grill.
Flipping and Basting the Chicken
Flipping and basting your chicken breasts at the right times will help you achieve a more flavorful and evenly cooked result.
When to Flip the Chicken:
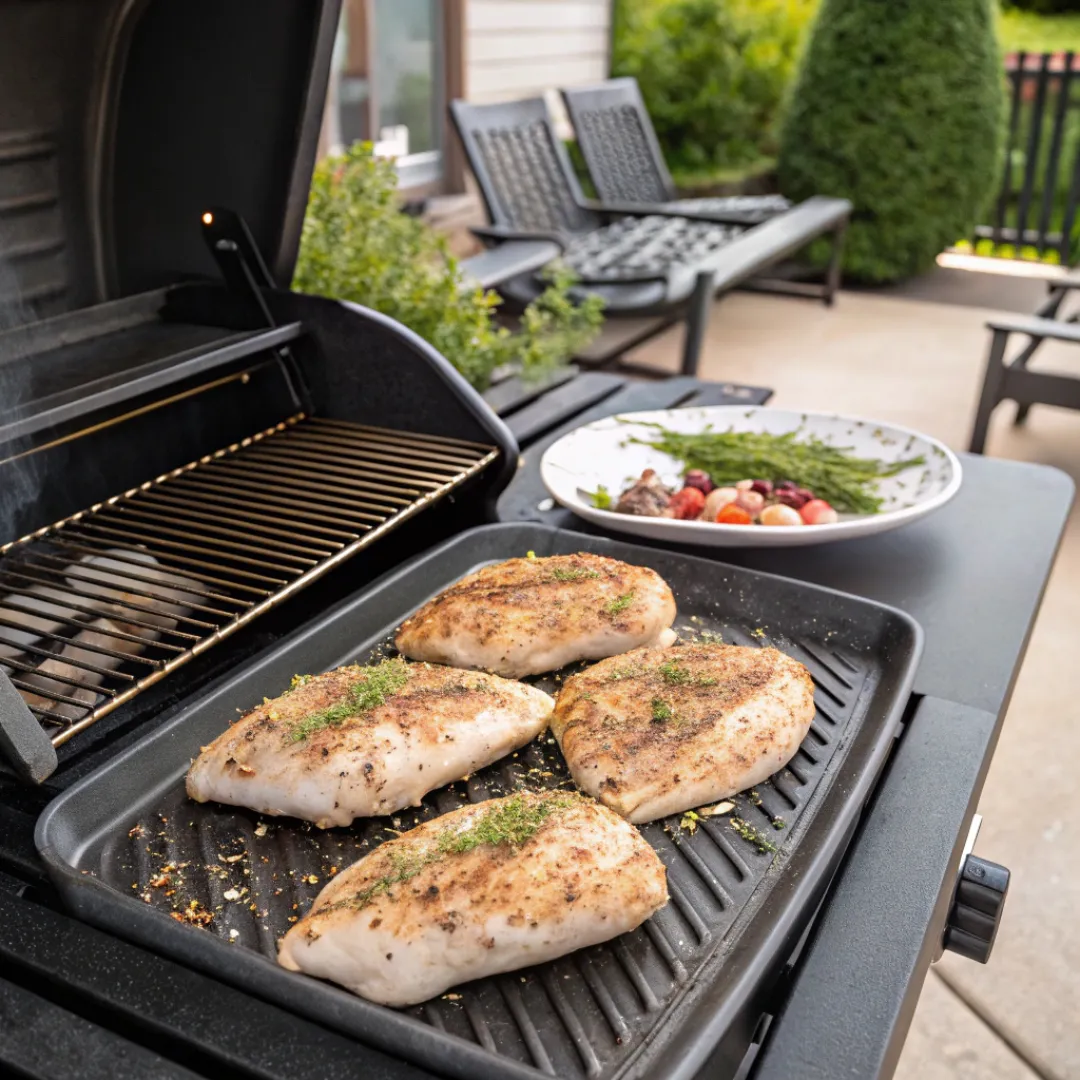
Flip the chicken breasts halfway through the cooking time. For example, if you’re grilling at 350°F and the total cooking time is 30 minutes, flip the chicken at the 15-minute mark. Flipping ensures both sides of the chicken breast receive equal exposure to the heat, preventing one side from becoming too dark or too dry.
Basting for Enhanced Flavor
Basting involves brushing the chicken with a flavorful liquid during cooking. Use melted butter, olive oil, or a marinade to baste. Basting adds moisture to the chicken and helps develop a richer flavor. For the best results, baste the chicken every 10 minutes, particularly during the last half of the cooking process. Be careful not to baste too frequently, as opening the grill lid too often can cause temperature fluctuations.
Using a Meat Thermometer
A meat thermometer is one of the most important tools when cooking chicken breast on a pellet grill.
Importance of Checking Internal Temperature
Chicken breast is lean meat, meaning it can dry out quickly if overcooked. By using a meat thermometer, you ensure that the chicken reaches the safe internal temperature of 165°F without going over and becoming dry. Insert the thermometer into the thickest part of the breast, avoiding any bones. If the thermometer reads 165°F, remove the chicken from the grill.
Avoiding Overcooking and Dryness
If the internal temperature is creeping towards 170°F, remove the chicken from the grill immediately. Even a few degrees can make the difference between a juicy chicken breast and one that is dry and tough. Once off the grill, the chicken will continue to cook slightly due to residual heat, so pulling it at 165°F ensures it doesn’t overcook.
Resting the Chicken After Cooking
Resting is a step that many overlook, but it’s crucial for ensuring that your chicken breast is juicy and flavorful.

Why Resting is Important
When chicken cooks, the juices inside move toward the center of the meat. If you cut into the chicken immediately after removing it from the grill, those juices will spill out, leaving the meat dry. Resting allows the juices to redistribute throughout the meat, resulting in a more tender and juicy chicken breast.
How Long to Rest the Chicken
After removing the chicken from the grill, tent it loosely with aluminum foil and let it rest for at least 5-10 minutes. This brief resting period is enough to allow the juices to settle, making each bite more flavorful. Don’t skip this step—it’s the secret to achieving perfectly juicy grilled chicken.
Slicing and Serving
How you slice and serve your chicken breast can greatly impact the overall dining experience.
Best Practices for Slicing
When it comes time to slice the chicken breast, cut against the grain. The grain refers to the direction in which the muscle fibers run through the meat. By cutting against the grain, you shorten these muscle fibers, making the chicken more tender and easier to chew. Use a sharp knife to make clean, even slices.
Serving Suggestions
Serve your chicken breast hot off the grill, accompanied by your favorite side dishes. Grilled vegetables, a fresh salad, or classic barbecue sides like baked beans and coleslaw are all excellent choices. For added flavor, consider topping the chicken with a compound butter or a drizzle of your favorite barbecue sauce. You can also slice the chicken breast and serve it over a bed of rice or pasta for a heartier meal.
Troubleshooting Common Issues
Even with careful preparation, things can sometimes go wrong. Here’s how to address some common issues when grilling chicken breast on a Pit Boss Pellet Grill.
Overcooking
Overcooked chicken breast can be dry and tough. If you find that your chicken is overcooked, there are a few ways to salvage it. One option is to slice the chicken thinly and serve it with a sauce or gravy to add moisture. Another option is to shred the chicken and mix it with mayonnaise or yogurt for a chicken salad.
Undercooking
Undercooked chicken is not only unpleasant but also unsafe to eat. If you realize your chicken is undercooked after slicing into it, place it back on the grill and continue cooking until the internal temperature reaches 165°F. To prevent this issue, always check the internal temperature with a meat thermometer before removing the chicken from the grill.
Dry Chicken Solutions
If your chicken breast turns out dry, consider serving it with a creamy sauce or gravy to add moisture. Another trick is to baste the chicken with a little extra butter or oil just before serving. This can help to reintroduce some moisture to the meat.
Adding Extra Flavor with Marinades
Marinades are a fantastic way to infuse your chicken breast with additional flavor before grilling.
How to Use Marinades Effectively
To get the most out of your marinade, allow the chicken to soak in it for at least 30 minutes, but no more than 24 hours. Marinating the chicken for too long can cause the proteins to break down too much, resulting in a mushy texture. For the best results, use a resealable plastic bag to marinate the chicken. This allows the marinade to coat the chicken evenly and reduces the need for a large amount of marinade.
Popular Marinade Recipes
There are countless marinade recipes to explore, but here are a few popular ones to get you started:
Lemon Herb Marinade
Combine fresh lemon juice, olive oil, minced garlic, and chopped herbs like rosemary and thyme. This marinade is light, fresh, and perfect for summer grilling.
Spicy Thai Marinade
Mix coconut milk, lime juice, fish sauce, and chili paste for a marinade that’s both spicy and savory. This marinade pairs wonderfully with a side of jasmine rice and grilled vegetables.
Honey Mustard Marinade
Blend Dijon mustard, honey, apple cider vinegar, and a touch of soy sauce for a sweet and tangy marinade that caramelizes beautifully on the grill.
Popular Side Dishes
The right side dishes can elevate your grilled chicken breast from a simple meal to a feast. Here are some ideas to complement your chicken:
Grilled Vegetables
Grilled vegetables are a natural pairing with chicken breast. Zucchini, bell peppers, onions, and asparagus all grill beautifully and can be seasoned simply with olive oil, salt, and pepper. For added flavor, try sprinkling the vegetables with a little balsamic vinegar before grilling.
Salads
A crisp salad adds a refreshing contrast to the rich, smoky flavor of grilled chicken. A Caesar salad with crunchy croutons and a creamy dressing is a classic choice, while a tangy coleslaw provides a nice balance of textures. For something different, try a fruit salad with mixed greens, strawberries, and a light vinaigrette.
Potatoes
Whether baked, mashed, or roasted, potatoes are a versatile side that pairs well with grilled chicken. For a quick and easy side, toss baby potatoes with olive oil, garlic, and rosemary, and roast them on the grill alongside the chicken.
Rice and Grains:
Rice, quinoa, or couscous can be the perfect base for a meal centered around grilled chicken. Consider adding herbs, nuts, or dried fruit to the grains for added flavor and texture.
Cleaning Your Pit Boss Pellet Grill
Regular cleaning will keep your grill in top condition. Here’s a step-by-step guide on how to clean and maintain your pellet grill.

Steps to Properly Clean the Grill
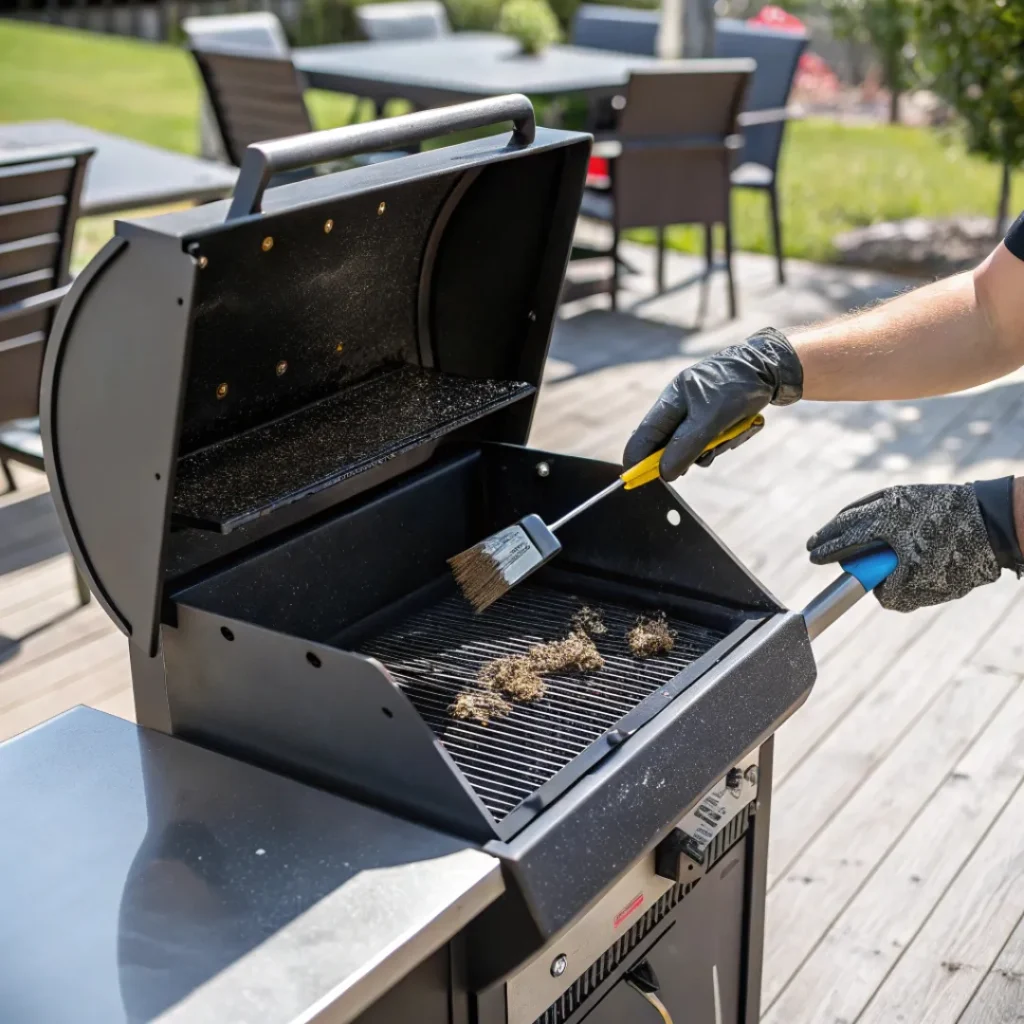
After finishing cooking and allowing the grill to cool down, start the cleaning process. Remove the grill grates and brush off any food particles or residue. A wire grill brush works well for this task. Next, empty the ash from the firebox, as leftover ash can affect the grill’s efficiency and flavor. Wipe down the interior of the grill with a damp cloth to remove any grease or soot. It’s also a good idea to clean the grease tray regularly to prevent buildup that can cause flare-ups.
Maintaining the Grill
Regular maintenance will keep your Pit Boss Pellet Grill running smoothly for years to come. In addition to cleaning the grill after each use, perform a more thorough cleaning every few months. This includes vacuuming out the firebox, checking the auger and pellet hopper for blockages, and inspecting the grill’s electrical components. Keeping your grill covered when not in use will also protect it from the elements and extend its lifespan.
Frequently Asked Questions
Can I cook frozen chicken breast on a Pit Boss Pellet Grill?
Yes, you can cook frozen chicken breast on a Pit Boss Pellet Grill, but it’s not recommended. Cooking frozen chicken takes longer and can result in unevenly cooked meat. It’s best to thaw the chicken first by placing it in the refrigerator overnight or using a cold-water bath if you’re short on time.
What type of wood pellets should I use for chicken breast?
Fruitwood pellets like apple or cherry are excellent choices for chicken breast because they impart a mild, sweet smoke that complements the chicken’s natural flavor. Hickory and mesquite pellets can also be used if you prefer a stronger, more robust smoky flavor.
How do I prevent my chicken breast from sticking to the grill grates?
To prevent chicken breast from sticking to the grill grates, make sure the grates are well-oiled before placing the chicken on them. You can do this by dipping a paper towel in oil and rubbing it over the grates using tongs. Additionally, ensure the grill is properly preheated before placing the chicken on it. Allowing the chicken to sear properly before attempting to flip it will also reduce sticking.
Can I use a Pit Boss Pellet Grill indoors?
No, Pit Boss Pellet Grills are designed for outdoor use only. The grill produces smoke, which can accumulate indoors and pose a health hazard. Always use your Pit Boss Pellet Grill in a well-ventilated outdoor area, away from flammable materials and structures.
How do I know when my chicken breast is done without a meat thermometer?
While a meat thermometer is the best way to ensure your chicken breast is cooked to the proper internal temperature, there are other methods you can use if you don’t have one. One way is to cut into the thickest part of the chicken breast. If the juices run clear and the meat is no longer pink, it’s done. You can also check for firmness—cooked chicken breast should feel firm to the touch but not hard. However, using a meat thermometer is the most reliable way to avoid undercooking or overcooking your chicken.
Conclusion
Cooking chicken breast on a Pit Boss Pellet Grill is a rewarding experience that combines convenience with exceptional flavor. By following the steps outlined in this guide—from selecting the right chicken breasts to mastering the grilling process—you can achieve perfectly cooked, juicy, and flavorful chicken every time. Whether you’re cooking for a casual family dinner or a special occasion, your grilled chicken breast will be a hit. So fire up your Pit Boss, experiment with different seasonings and marinades, and enjoy the delicious results.

